Mastering Foam Rolling
Whether at the gym, CrossFit, or even AzOPT, you have seen someone laying and rolling around on a cylindrical shaped piece of foam. Foam rolling has become an extremely popular and effective self-massage technique. To understand why, let’s discuss the basic structure of our muscles and tissues.
Our muscles are surrounded by a dense sheet of connective tissue called fascia which support and allow our muscles to function and move independently. Chronic pain, stiffness, reduced joint range of motion, and impaired blood flow can be a result of these fascial layers “sticking together” and forming adhesions and trigger points. The formation of these trigger points can be caused by many factors such as trauma, overuse, muscle imbalances, stress, poor diet and/or dehydration.
Myofascial Release
Myofascial (the muscle and associated fascia) release techniques are used to relieve the tension in these bound up muscles and trigger points by breaking up these adhesions that are limiting your functional abilities and causing you pain. There are many different techniques for myofascial release – including the use of foam rolls.
Benefits of Myofascial Release Techniques with Foam Rolls
- Reduced muscle tension
- Correcting muscle imbalances
- Relieving muscle soreness and joint stress
- Improved joint range of motion
- Increased flexibility
- Improved neuromuscular efficiency
- Improved functional and athletic performance
- Helps prevent injuries and maintain soft-tissue extensibility
Using a Foam Roll
Find an open area on the floor to lie down and be able to roll the targeted body segment on top of the foam roll. Roll out the target body segment for several minutes. If you find an area that is more painful or tender, stop and rest on that area for 30-45 seconds until the pain diminishes by about 50-75%. Once the pain in that specific area decreases, continue rolling the body segment to look for other sensitive areas. The fascia is a continuous band of tissue, so it is important that you roll over the entire length of the body segment to reach all of it and any associated restrictions.
Begin by rolling once, every other day. Once your body adapts, work towards once or twice per day. Expect it to be slightly uncomfortable while using the foam roll and be a little sore afterwards. Remember, foam rolling helps break up adhesions and normalize the underlying tissues. You can use a foam roller as a warm-up prior to activity, a cool-down after a workout, or throughout the day to treat tense body segments and improve mobility.
Foam Rolling Muscle Groups
Calf:
- Sit with your lower leg on top of the foam roll, beginning behind your knee
- Point your toes in/out (rotating your leg) to target one area of the calf
- Balance on your hands, and scoot back to move it lower down the leg all the way to your ankle
- Continue to roll slowly up and down your leg with your toes pointed in and out
- Emphasize one leg by crossing the opposite foot over the other
- Click to see Foam Rolling Calf example
Hamstrings:
-
Sit on top of the roll with your feet resting on the floor and balance on both hands behind your body
- Begin by slowly rolling backwards so the foam roll goes down the leg across the length of your hamstrings to your knee then back up to your glutes
- Emphasize one leg by placing the opposite foot over the other
- Click to see Foam Rolling Hamstrings example
Glutes/Butt:
- Sit on side of glute area with ankle of opposite foot resting across your thigh/quad
- Balance on one hand and foot while slowly rolling across the length of your glutes and rotate your body to reach the whole area
- Click to see Foam Rolling Glutes example
Outside of the Thigh:
- Lie with the side of your hip bone on the foam roll while balancing on your forearm
- Slowly roll it down then back up the side of your leg, changing emphasis by rolling slightly forward or backwards
- Click to see Foam Rolling Outside of Thigh example
Quadriceps/Front of the Thigh:
- Lie face down with your quads on the foam roller while balancing on your elbows
- Slowly roll up and down the quads, changing emphasis by rolling side to side and targeting one leg more by shifting body weight towards that side or crossing one foot onto the opposite leg
- Click to see Foam Rolling Quadriceps example
Hip Flexors:
- Lie on the far end of the foam roller on one side of your hip flexors while balancing on your elbows and the leg that’s not being targeted
- Slowly roll up and down, changing emphasis by rolling side to side
- Click to see Foam Rolling Hip Flexor example
Inside of the Thigh:
- Balance on one elbow and hand with the opposite leg angled away from you on the roller positioned on the inside of the thigh
- Slowly roll it from your knee to the hip and back, changing emphasis by rotating the leg slightly or adding more pressure
- Click to see Foam Rolling Inside of Thigh example
Lower Back:
- Lay on back with foam roller on lower back
- Roll up towards head and down to get the entire length of the low back
- Click to see Foam Rolling Low Back example
Upper Back:
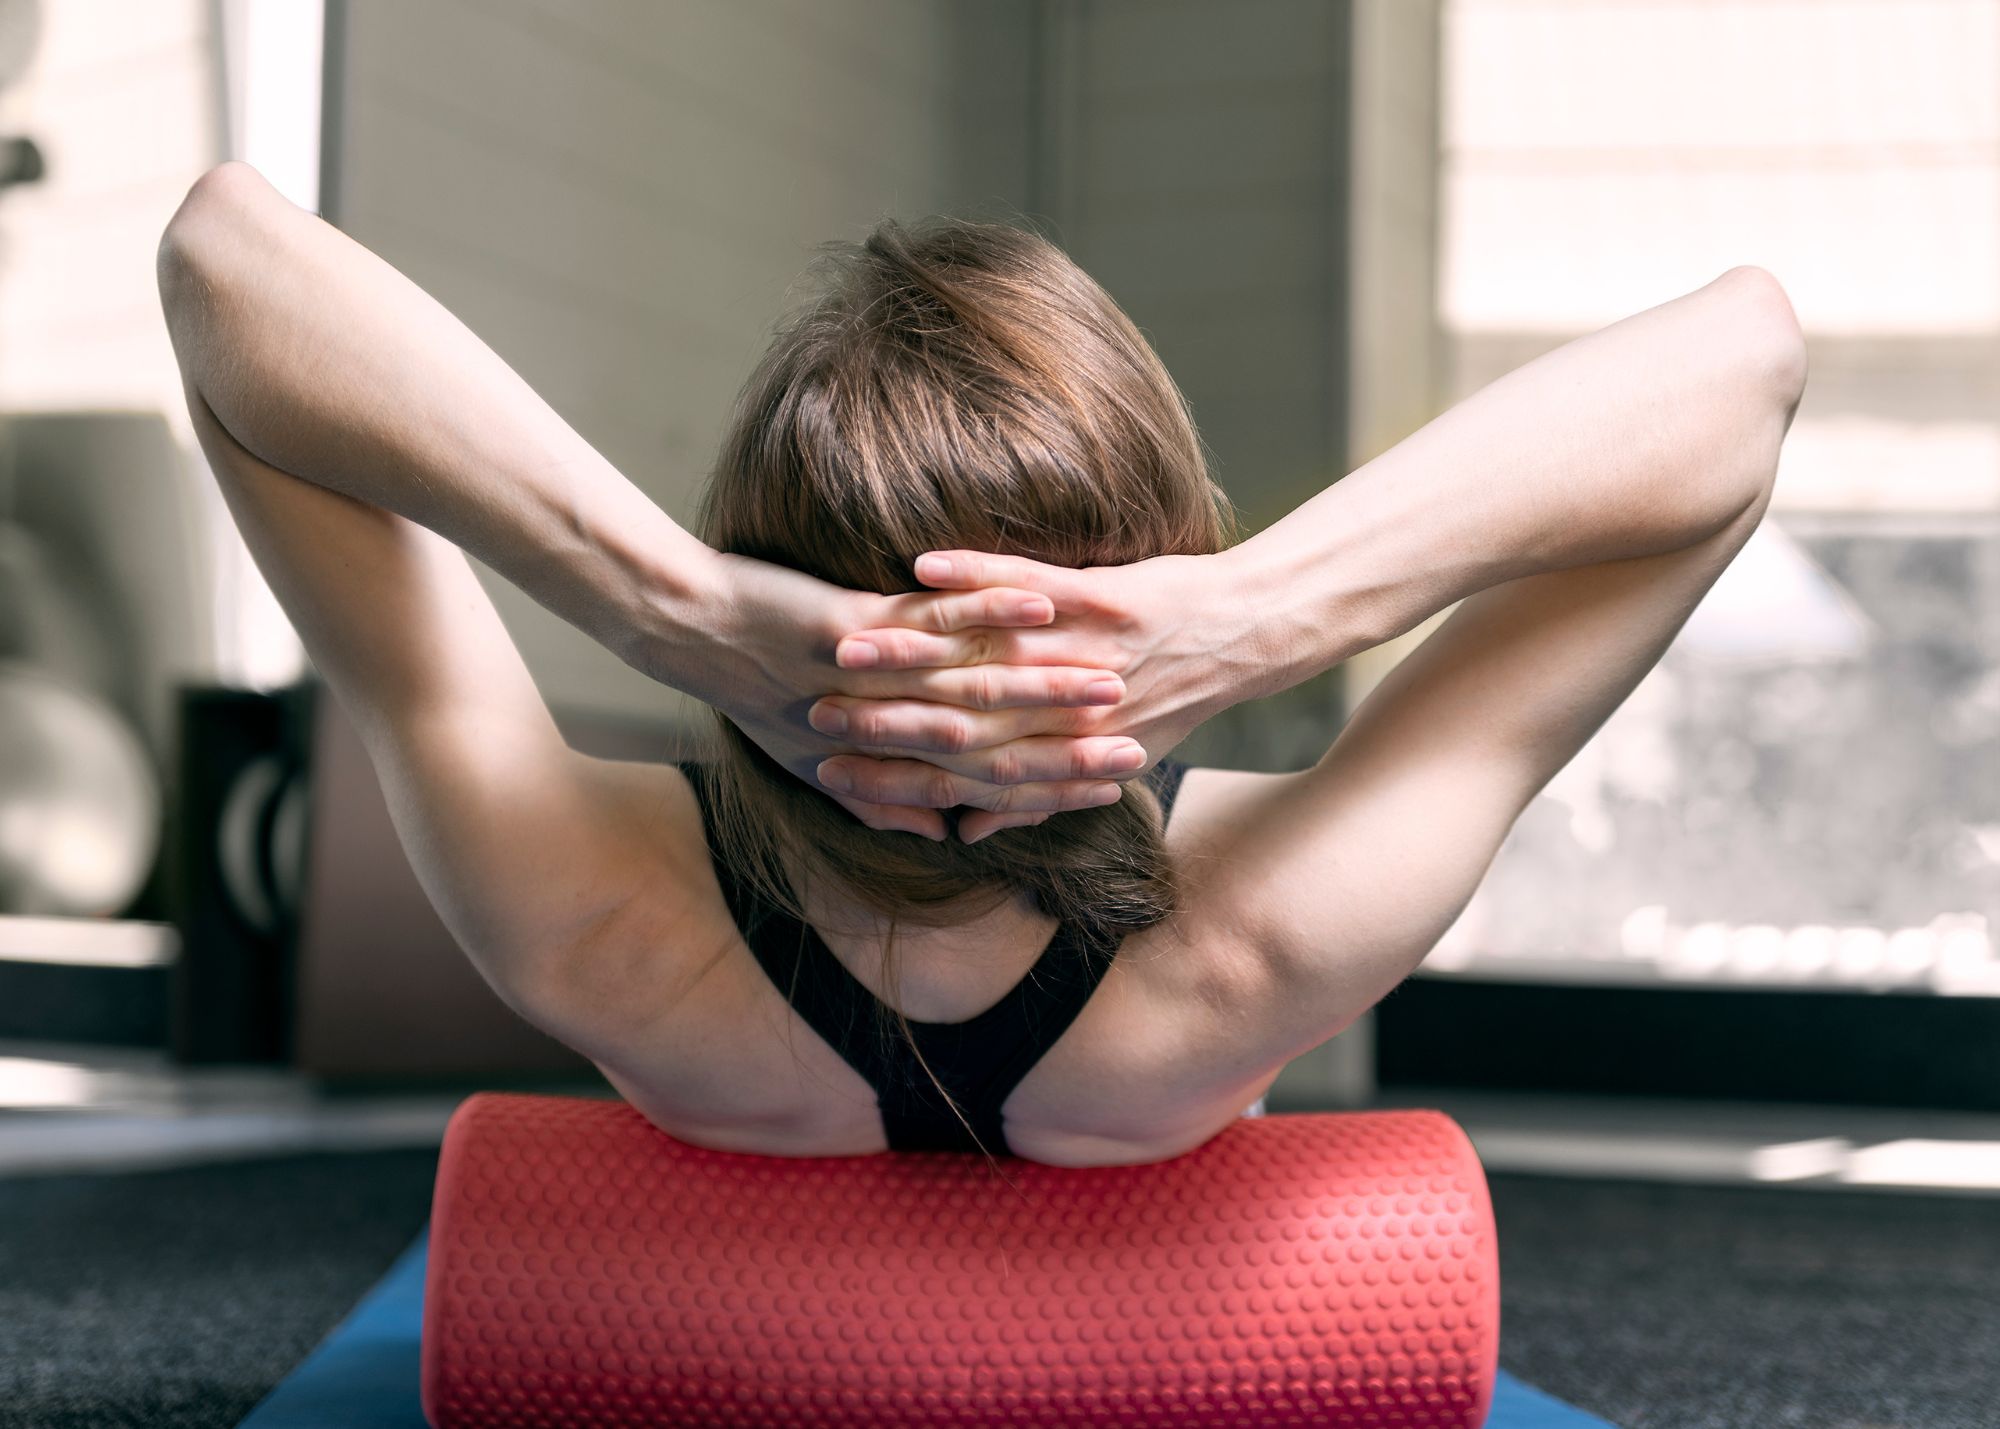
- Begin with the roller under your upper back and place both hands behind your head
- Slowly roll up until the point just below both shoulder blades then back, emphasizing one side by rolling left or right
- Click to see Foam Rolling Upper Back example
Experiment with all of these positions to find out what technique works best for you and targeting the most problematic areas on your body. If you have any questions about foam rolling or would like to see a demonstration of any of these techniques, don’t hesitate to contact us here at AzOPT.
References:
Tortora, G., Derrickson, B. (2009). Skeletal Muscle Tissue. Principles of Anatomy and Physiology, 12th ed. (p. 303). Hobokem, NJ: John Wiley & Sons inc.
Clark, M., Russell, A. (2014). Self Myofascial Release Techniques. Retrieved from: Effects of Self-Myofascial Release on Athletes’ Physical Performance: A Systematic Review – PMC (nih.gov)


